打完美末1和看完电视剧之后的随感
作为今年开年最火热的一男(战神)带一女(拖油瓶)打僵尸的游戏,甚至现在在别的领域也有了不少的热度,那么他当然不是李三光进村记和偷盘侠,而是美末游戏和美剧了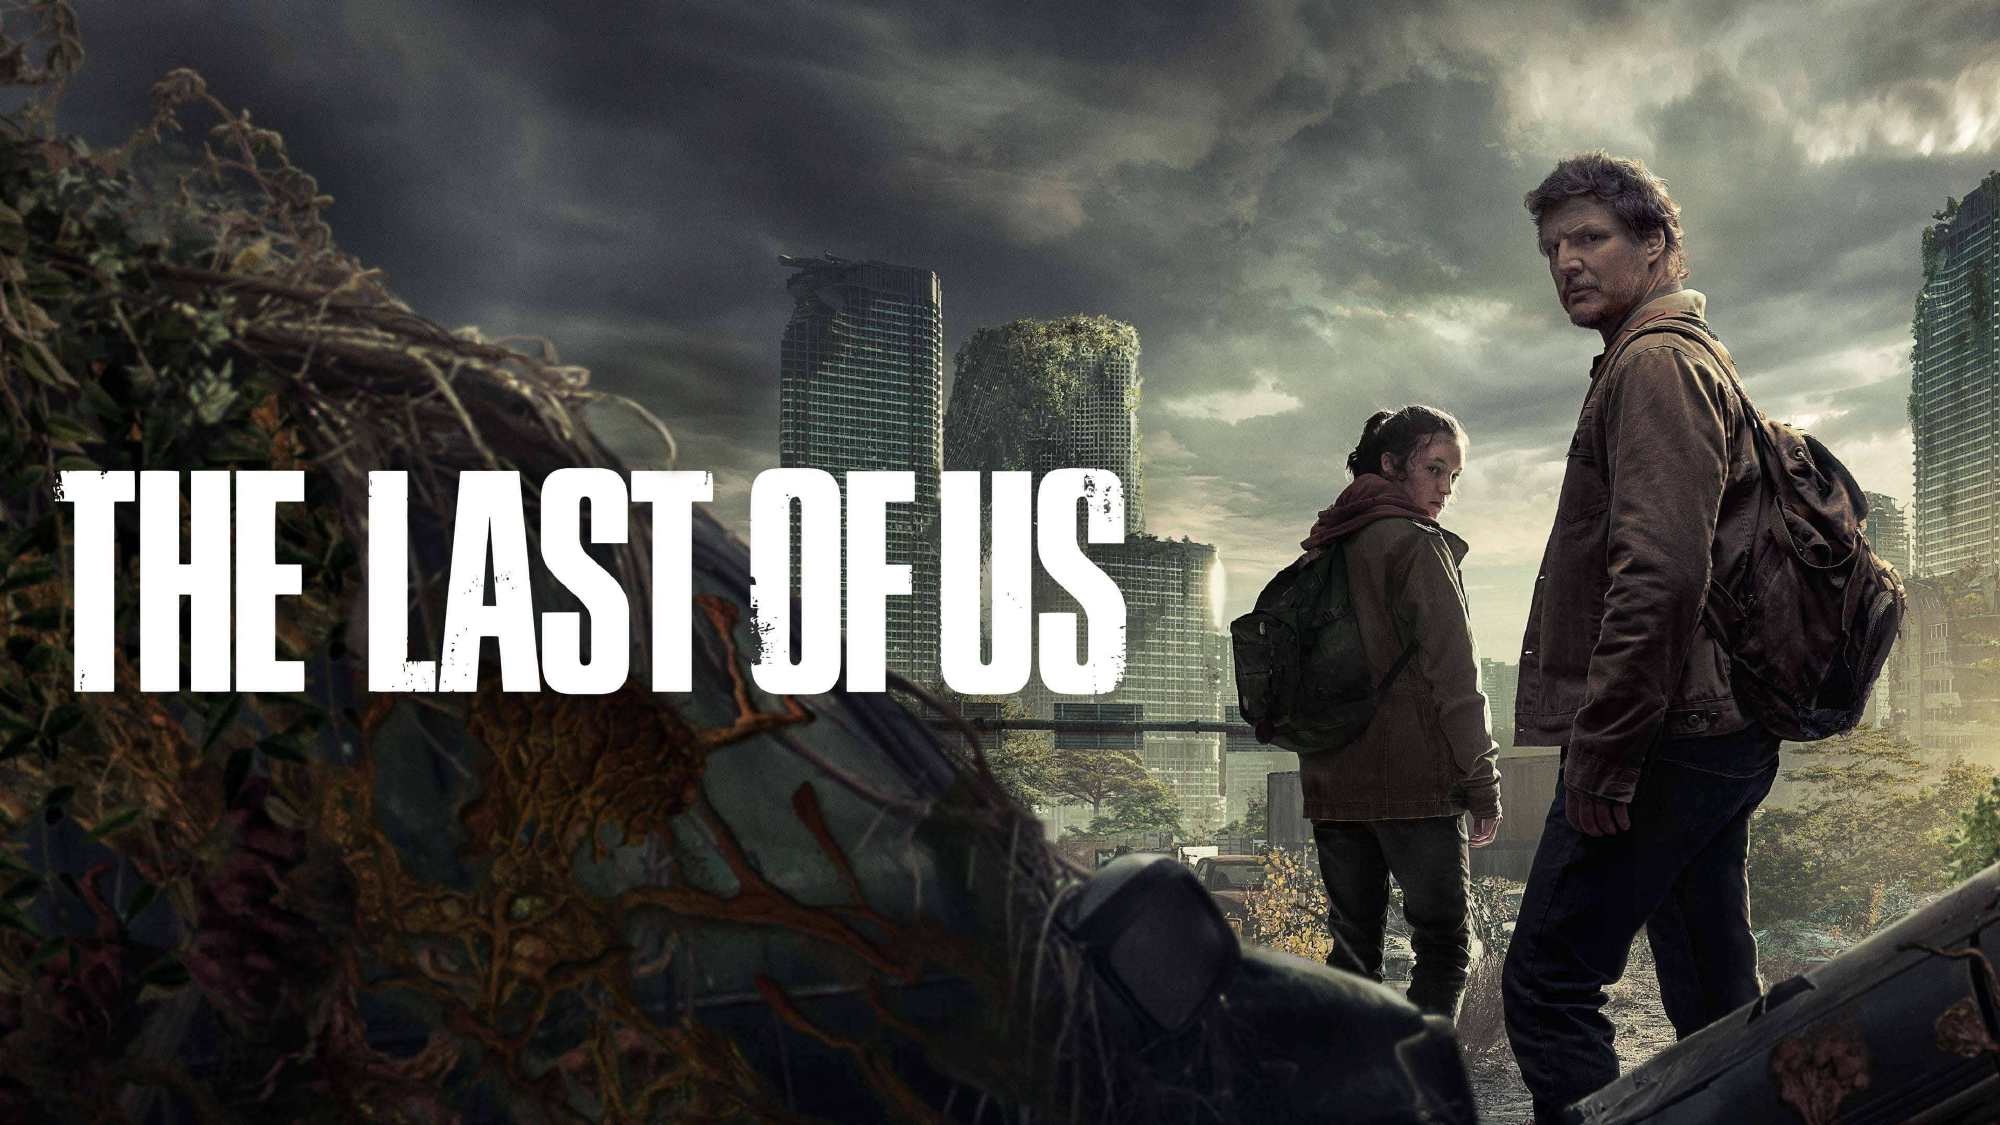
游戏
在通关游戏之后不得不感叹顽皮狗的技术力,作为一个PS3末代的游戏哪怕在PS5上玩,也没有任何的旧世代的感觉,如果玩上最新的重制版可能就完全是次世代游戏了,这也侧面说明gameplay在这几年的衰落 bushi(包括另一个一男一女打僵尸游戏的重制版也获得了大火)。
放在2023年的今天,在经历了精神变态事件之后来第一次玩这个游戏似乎很难再所谓客观公正的评价这个游戏,但是个人感觉美末1并不是那么令我满意—-这个结局显得过于急促了,当然其实按照这个走向后面也没什么好讲的了,但是其带给我的印象甚至不如山姆亨利和艾莉离家出走的桥段。
以下是一些个人想法:
电影化叙事游戏个人来说其最大的问题在于游戏难度和剧情合理性的冲突,相对另一个一男一女打僵尸的游戏的李三光可以大杀特杀来说,我感觉在末世一个老头带着一个小女孩能够这么多次突破许多壮年男性的包围圈是有点出戏的。当然可以理解的是这是其作为一个游戏必然需要的gameplay内容。然而最后火萤大楼的那场决战,从旁观者的角度来说一个老头能干掉这么多全副武装的军人还是有点离谱的(当然全被干掉也说明火萤混到这个地步一点都不怨)。
美剧
然而其实电视剧很好的解决了游戏需要gameplay的部分,在删减了大量的战斗之后这个剧本确实展现了其作为电影化叙事游戏剧本巅峰的实力。加上剧组对末世氛围的渲染和对场景道具的还原程度,个人可以给一个高分好评。
而且电视剧还对很多游戏中不能很好展现的内容做了补充,包括艾莉被咬之前的生活和怎么被咬的故事,还有某种程度上来说官方对艾莉免疫虫草菌原因的补全,都是十分值得好评的部分。
当然我最不能理解的还是花了一整集的时间来讲一个南通故事对整个剧情有什么影响。
而在看电视剧期间发现最有意思的还是在末世不同团体的人发展出的各种不同的社会形态和最后的结局了。
主要包括:
- 原政府统治(高压统治,阶级分化腐败,部分被反抗人民推翻)
- 军政府统治(推翻政府统治而来,结局是因为暴力仇杀被僵尸团灭)
- 宗教统治(牧师领导,喜欢小女孩(很符合对宗教的刻板印象),最后也因为没管住吊而分崩离析)
- 共产主义(活的最滋润的群体,滋润到腐化了乔儿被高尔夫打死)
只能说国外编剧确实敢写敢拍,当然对他们来说可能很正常罢。
总结
总的来说游戏和美剧都是值得一玩和一刷的,过段时间也会再玩一下美末的重制和高尔夫2,到时候再来锐评罢。